
Installing Ubuntu 24.04 in WSL the Fun Way
Table of Contents
One of the biggest feature for Windows 10 and 11 was the move of making Windows Subsystem for Linux (WSL) installable via the Microsoft Store. This made it possible for standard Home Edition users to install WSL without having to upgrade to Pro. Although the Pro Edition still has some advantages, but that is not what this article is about. This article is about installing Ubuntu 24.04 in WSL the fun way, i.e. using the base bootstrap tarball.
The advantage of using the bootstrap tarball is that you can install a minimal version of Ubuntu without any additional packages. This allows you to install only the packages you need, which can be useful if you are running WSL on a system with limited resources such as less RAM or disk space.
Prerequisites
Before we start, make sure you have the following prerequisites:
- Windows 10 or 11 with WSL enabled
- A terminal emulator like Windows Terminal. You can also use the default Command Prompt or PowerShell.
- A text editor like Notepad++ or Visual Studio Code.
- A web browser to download the bootstrap tarball.
- A cup of coffee, tea, or any other beverage of your choice.
If you do not have Windows Terminal installed, you can download it from the Microsoft Store, or with winget by running the following command in PowerShell:
winget install Microsoft.WindowsTerminal
If prompted to install the package, type Y and press Enter.
Downloading the Bootstrap Tarball
To download the bootstrap tarball, you well have to go
here
. Once you are there, you will see a list of files. You will want to download the ubuntu-base-24.04-base-amd64.tar.gz if you are using a 64-bit system x86_64 system. If you are using an arm64 system, you will want to download the ubuntu-base-24.04-base-arm64.tar.gz file. You can download the file by clicking on it.
Also download the SHA256SUMS file. This file contains the checksums for all the files in the directory. You can use this file to verify the checksum of the file you downloaded.
Invoke-WebRequest -Uri "https://cdimage.ubuntu.com/ubuntu-base/releases/24.04/release/SHA256SUMS" -OutFile "SHA256SUMS"
Verifying the Checksum
To verify the checksum of the file, you can use the Get-FileHash cmdlet in PowerShell. You can run the following command to verify the checksum of the file. You can do this by opening the PowerShell profile in Windows Terminal or by opening PowerShell directly.
You should just pull the SHA256SUMS for the tarball.
Get-FileHash -Algorithm SHA256 ubuntu-base-24.04-base-amd64.tar.gz | Select-Object -Property Hash
Now compare the hash from the SHA256SUMS file by pulling the hash from the file.
Select-String -Path SHA256SUMS -Pattern "ubuntu-base-24.04-base-amd64.tar.gz"
If the hashes match, you can proceed to the next step.
Installing Ubuntu 24.04
Before we install Ubuntu 24.04, we need to create a directory for the installation disk image to live. I suggest creating a directory in your user directory called WSL and subdirectory called Ubuntu-24.04. You can do this by running the following command in PowerShell:
mkdir -Path $HOME\WSL\Ubuntu-24.04
Install the bootstrap tarball by running the following command in PowerShell:
wsl --import Ubuntu-24.04 $HOME\WSL\Ubuntu-24.04 .\ubuntu-base-24.04-base-amd64.tar.gz
Depending on you system them may take a few minutes to complete. Once the installation is complete, you can run the following command to start the Ubuntu 24.04 instance:
Starting the Ubuntu 24.04 Instance
You will be greeted with a root user shell prompt where first start the instance of Ubuntu 24.04. After a few tweaks you will be able to login as a user.
That well be covered later in the article.
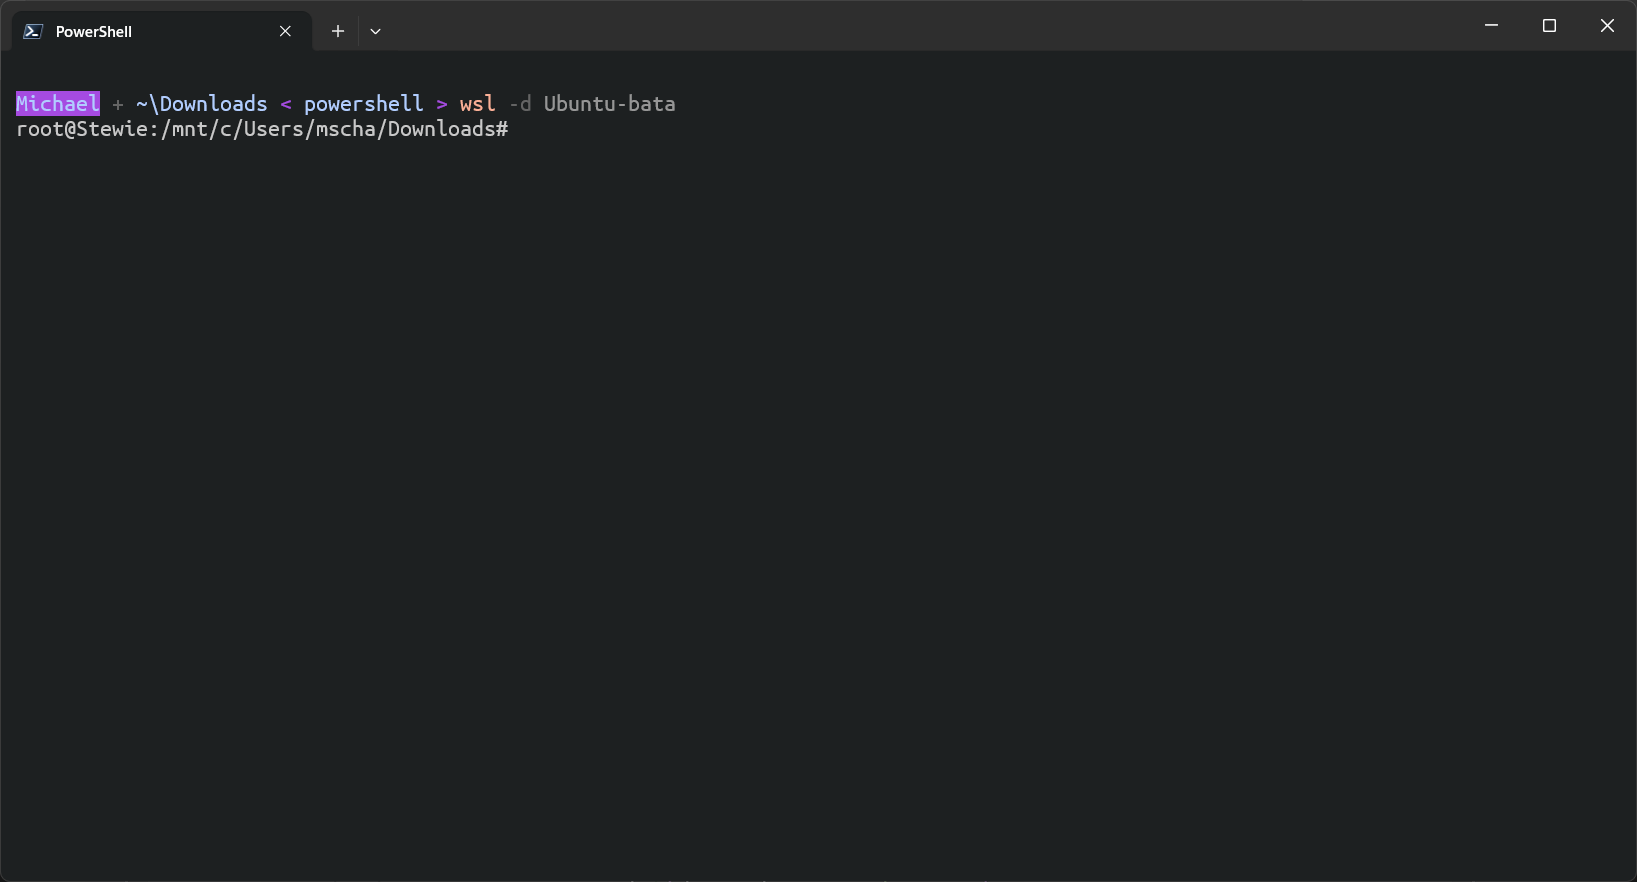
wsl -d Ubuntu-24.04
Installing Required Applications
There are some applications that are required for a user to be able to login so that you are not always root, (which is not recommended). Plus if you plan on testing or developing you may need SystemD to be able to start services. You can install these by running the following command:
apt update && apt install -y sudo systemd-hwe-hwdb systemd-sysv systemd-timesyncd systemd nano vim
Durinig the installation of the packages, you will be prompted to set the geographical location for the time zone. You can select the appropriate time zone for your location.
For me that is America so I will select 2 and press Enter.

Next you will be prompted to select the time zone for your location. You can select the appropriate time zone for your location.
For me that is Boise so I will select 30 and press Enter.

You may also want to install a text editor like Vim or Nano which you can add to the command above.
Setting Up a User
The best way is to use useradd command because it gives you more control over how to create the user.
useradd -mU -s /bin/bash -G sudo -u 1000 -p $(openssl passwd -6 "password") username
Replace username with the username you want to use and password with the password you want to use. You can also use the passwd command to change the password later.
No Password Required
If you do not want to use a password, you can using the following actions in vim or nano: vim /etc/sudoers.d/aloud-nopasswd or nano /etc/sudoers.d/aloud-nopasswd and add the following line: username ALL=(ALL) NOPASSWD: ALL.
And remember to replace username with the username you created.
Setting Up SystemD
Every since WSL version 0.67.6, SystemD has been supported. You can enable SystemD by creating a file called wsl.conf in the /etc directory using your text editor of choice. You can do this by running the following command: vim /etc/wsl.conf or nano /etc/wsl.conf.
Add the following lines to the file:
[boot]
systemd = true
To make the installation complete add the following to your /ect/ws.conf so that it looks like this:
[automount]
enabled             = true
options             = "metadata,uid=1000,gid=1000,umask=22,fmask=11,case=off"
mountFsTab          = true
crossDistro         = true

[network]
generateHosts       = true
generateResolvConf  = true

[interop]
enabled             = true
appendWindowsPath   = true

[user]
default             = michael

[boot]
systemd             = true
Finishing Up
In order for the changes to take effect, you will need to restart the
Ubuntu
instance by entering exit and prssing enter. When you are back in PowerShell, enter the following wsl -t Ubuntu-24.04 to kill the instance then wsl -d Ubuntu-24.04 to start the instance again.
If you close the Windows Terminal and restart the app and click on the down arrow in the tab bar, you should see the Ubuntu-24.04 instance. You can click on it to start the instance.
If everything went well, you should be logged in as the user that you set up earlier. You can now start installing the packages you need and start using Ubuntu 24.04 in WSL.